
Your seedlings are ready to be transplanted, you have drawn your plan and bought the parts accordingly: it is time to take action. Before you start, make sure you have all the necessary parts. Just like an electrical circuit, if a room is missing, the entire system will be paralyzed. Think about it!
Install the irrigation timer (optional)
If you want to automatically start watering, install a timer directly to your water outlet. The watering timer is optional, but remains one of the greatest benefits of micro-irrigation.
- Place the battery
- Attach the timer to the faucet
- Set your program.
- Connect your regular watering hose to the end of the timer
Connect the irrigation plant
The irrigation plant is the starting component needed to reduce the water pressure to 1.5 bar. Previously, using your plan, you have determined the maximum capacity of the water flow of each irrigation zone so that the number of drippers does not exceed this maximum. The 1000 plant (Gardena # 1355) has a flow rate of 1000 liters of water per hour, while the 2000 plant (Gardena # 1354) spins 2000 liters per hour.
- Connect the irrigation unit directly to the water outlet or the garden hose;
- Make sure it is tight.
Deploy your main network
Your main network provides water for the entire system over long distances. It is mainly composed of your big pipes (1/2 inch).
- Cut the predetermined length of the main pipe (1/2 inch) with scissors.
- Be sure to walk around the area before cutting. Keep a few extra inches in case of miscalculation.
- Place your pipes above the areas indicated on your plan.
- Plant Gardena 8328 supports to secure the (1/2 “) pipes to the ground. If your piping is placed on a rigid floor, use Gardena 8380 jumpers designed to securely secure (1/2 “) lines to fixed surfaces.
Add connectors
There are several types of connectors available in 2 sizes (1/2 “and 3/16”). The connectors allow to divide the pipes at 90 degrees (“L” junction), to divide them together (“T” shunt) and to divide them into 4 (cross bridging “X”). Note that the only connector that can switch from a large 1/2 “pipe to a small 3/16” pipe is the 8333 tee. Thanks to Gardena’s patented Quick & Easy technology, the connectors are easy to install. on the pipes. In order to be able to adjust and control water requirements per plantation area, shut-off valves to cut your lines separately will be required. There are shut-off valves for your lines (1/2 “and 3/16”).
- First, install the connectors that divert your main lines (1/2 “) between them.
- Install your connectors connectors (able to go from a large pipe 1/2 “to a small pipe 3/16”).
- Install your shutoff valves per planting area (Gardena 8357 for 3/16 “or Gardena 8357 for 1/2”). Installation is a snap thanks to Gardena’s patented “Quick & Easy” connection technology.
Connect your secondary network
Your secondary network provides water to a plant individually (end of line) and watering a row of plants for a short distance (in line). The latter is composed of small pipes (3/16 “). Drippers can also be installed directly on the large pipe (1/2 “).
- Using scissors, cut your small pipes (3/16 “) according to the measurements designated in your plan.
- Keep a few extra inches in case of miscalculation.
- The pipes should be placed near the roots of your plants.
- Connect the small pipes to your connectors.
- Plant Gardena 8327 supports to secure small (3/16 “) earth pipes. If your pipes are laid on a rigid floor, use Gardena 8379 jumpers designed to secure small pipes (3/16 “) to fixed surfaces.
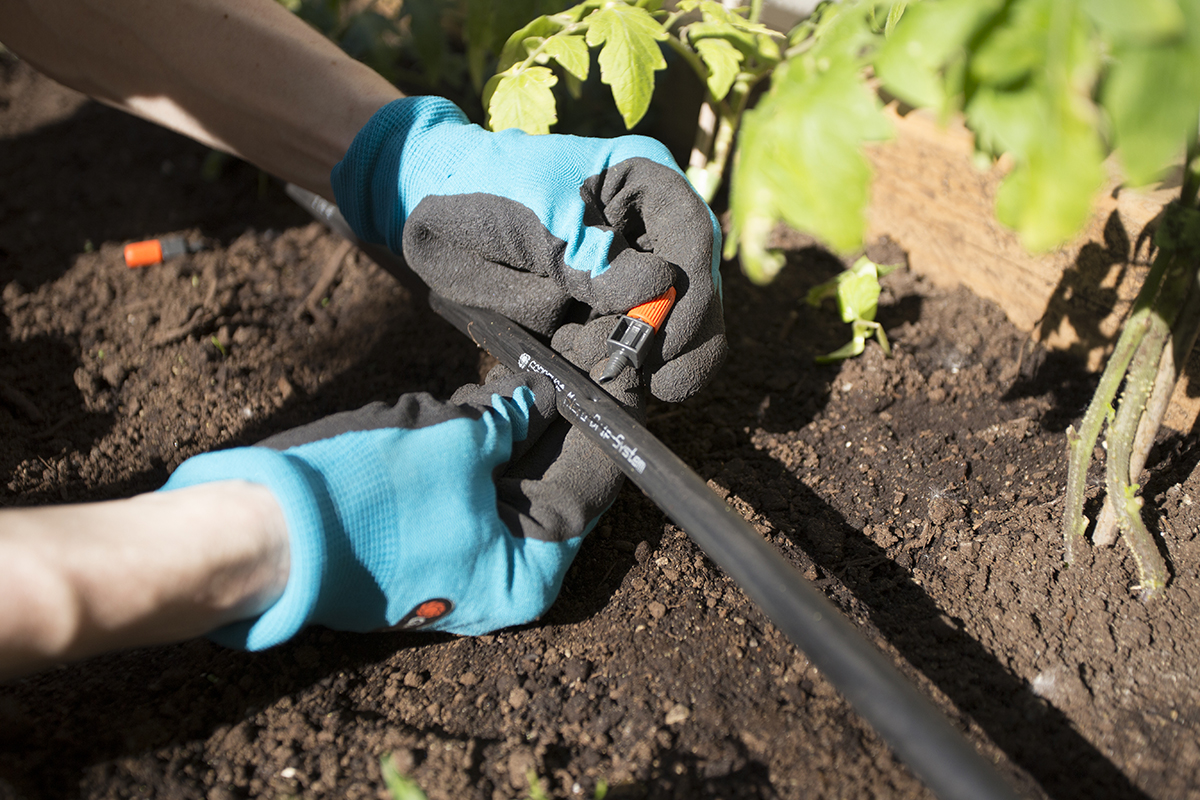
Install the drippers
At this stage, your pipes should be connected together to make way for drippers. Their main function is to bring the water as close as possible to the roots of each plant, without loss of water by evaporation. There are two types of emitters: online drippers and end-of-line emitters. Usually, you should have previously chosen them based on your watering areas.
- To place a dripper on an end-to-end line, make a hole with the installation tool (# 8322), then push in the dripper. Do not use a nail or other pointed object other than a punch because you could create irregular holes that cause leaks.
- End-of-line emitters are installed directly at the end of a small pipe. Because you have chosen the right type of dripper to the size of your 3/16 “.
Install the micro-sprinklers
The micro-sprinklers (spray nozzle) allow the water to be diffused in fine mist stably or in rotation at 365, 180 or 90 degrees. They are usually installed directly on a pipe (1/2 “).
- Using the installation tool, drill the tubes where you want to put your sprinklers.
- Screw the sprinklers firmly.
Close your lines
Before closing a line, see if you can install an end-of-line drip to optimize watering, otherwise, there are two types of caps for your pipes: small and large.
- Place the small caps (# 1323) to close your small pipes (if applicable).
- Place the large caps (# 8324) to close your large lines (if applicable).
Add conduit brackets
The brackets allow you to firmly hold your pipes on the ground or fix the drippers used to water potted plants. For a long segment, provide one support per meter.
Push the brackets directly to the floor. Avoid crushing them.
Test the watering system
The ultimate step is to test your irrigation system to check for leaks! If you break a pipe, use the small caps to plug a hole.
- Set the timer to manual mode
- Open the faucet just enough so that the sprinklers emit light streams of water.
- Once this is done, repeat the test to its full capacity.
- Set the timer to automatic mode by choosing the times when watering will trigger according to the needs of the plants in your garden.
In addition to the basic rules, there is no single way to install your irrigation system. With time and observation will come the enlargement and adjustments of certain segments of your irrigation network. For the moment, concentrate on developing a simple and effective circuit.